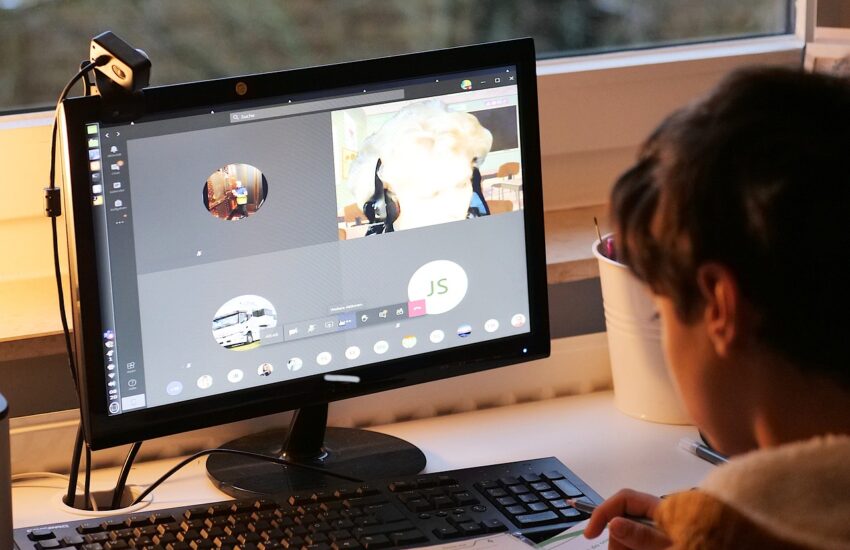
An HP webcam is frequently in-built with tablets and laptops, although they can also be purchased separately and attached to a computer. They are a crucial tool for communication for general purposes as well as if you are working from home.
Having a working webcam on any Windows laptop is essential whether you’re participating in a Zoom business call or talking to your friends on Google Meet.
Hence, it is advisable to test the functionality of your HP webcam to ensure an uninterrupted video call experience. Also, keep a check on your HP webcam drivers to avoid any errors.
So, to help you with it, in this article, we have included some basic methods and steps to test the HP webcam and also the solutions to fix the malfunctioning webcam.
Quick Methods to Test the Webcam
Below explained are some common ways to check the working of the HP webcam of your laptop or tablet.
Test the webcam with the Camera app
The most efficient way for testing your camera is to use the camera app built into your computer system. Click the Start button, then type “camera” in it and hit Enter. Now, select the Camera application.
If everything is functioning properly you should be able to see the video from the camera app instantly.
Test the webcam in video-calling apps
The majority of browser-based applications and video chat services have the capability to test your video and audio. Here are the basic steps you can follow for different applications.
Zoom App
In the Zoom app, click on the gear-shaped icon located in the upper-right corner of the screen.
Now, on the left panel, click on the “Video” option. If your webcam is functioning properly, you should be able to see yourself.
Google Meet
There are two ways through which you can check your camera’s performance in Google Meet. The first way is to go to Google Meet’s homepage and locate the gear-shaped icon. Click on it and select the Video option there.
A small pop-up window will appear showing you the video through your webcam. Check if it’s working properly.
Alternatively, you may check the video on the meeting page. The moment you join any meeting, you will find an option indicating “Check your audio and video.” Click on it and check if it’s working properly or not.
Skype
To test your webcam’s functionality in Skype, click on the “three dots” icon in the top-left corner of the main page of Skype and then select “Settings.”
Go to “Audio & video” on the left-hand side under Settings. There you will be able to see the video stream of your webcam.
Now, if you conclude through all the above steps that your webcam is not working as intended, then move on to the next section and find solutions for it.
Quick Solutions to Fix the Webcam
There are many reasons that can lead to your webcam being nonfunctional. Fortunately, the majority are relatively simple to repair. Go through the below solutions to fix such basic problems.
Check your connections
It is possible that the webcam connected to the USB port may become loose, or even the USB port itself can be faulty. Verify that your webcam is properly connected to a USB port.
Try changing the USB port your webcam is connected to because in some cases, the USB port is the cause of the issue. If you own a desktop computer that has USB ports located on the top or front of your case, then consider connecting to the USB port located at the back of your PC.
Download the appropriate webcam drivers
The webcam you are using may require a special program i.e. HP Webcam drivers from the manufacturer to operate effectively. The best way to locate the required software is to go directly to the website of the manufacturer and locate the driver downloads on the support page.
Check for the privacy settings of the Windows
Windows blocks applications’ access to your microphone and webcam in order to ensure the privacy of your data and ensure security. This is generally a good thing however it could cause your webcam to malfunction in certain programs.
To review your settings, simply click on Start, then type “Camera privacy settings” into the search panel, then press Enter.
There, make sure to toggle ON the “Camera access” and “Let apps access your camera” options if they’re set to off. Look through the list of apps and ensure that the application you’re trying to access is toggled to “On.”
Also, be sure to check the settings of your microphone. Select the back arrow at the top left corner of the window. After that, scroll down until you come to “Microphone” and click it.
The microphone’s controls are identical to the camera’s. Ensure that the program you’re trying to use has its access enabled.
Check the privacy settings of your browser
Your browser comes with security measures to block sites from interfering with your microphone or camera without your permission. The majority of websites will alert you when it tries to access your camera or microphone.
If you don’t see any pop-ups showing alerts, you’ll have to verify the privacy settings on your browser.
Click on the three dots or three bars in the upper right-hand corner of your browser. Then, move to Settings. You will then see the “Privacy” menu. There you may find the controls for your webcam and microphone. Tweak them to fix your problem easily.
Conclusion
So, this is it! We have listed and explained all the possible ways to test your HP webcam and effective methods to fix it if it’s not working properly. If none of the above methods work, you may test the webcam on a different computer. If it doesn’t function there either, your webcam is probably broken, and you should get a new one.
